Please note support for Consent Mode & TCF is done by Complianz directly.
You can also directly download the demo container with triggers and variables/ Please make sure you know how to import a container.
You can now use Matomo Tag Manager with Complianz. This new feature is available from 6.1.1 onward. You will need to configure both Complianz and Matomo to start using Matomo Tag Manager.
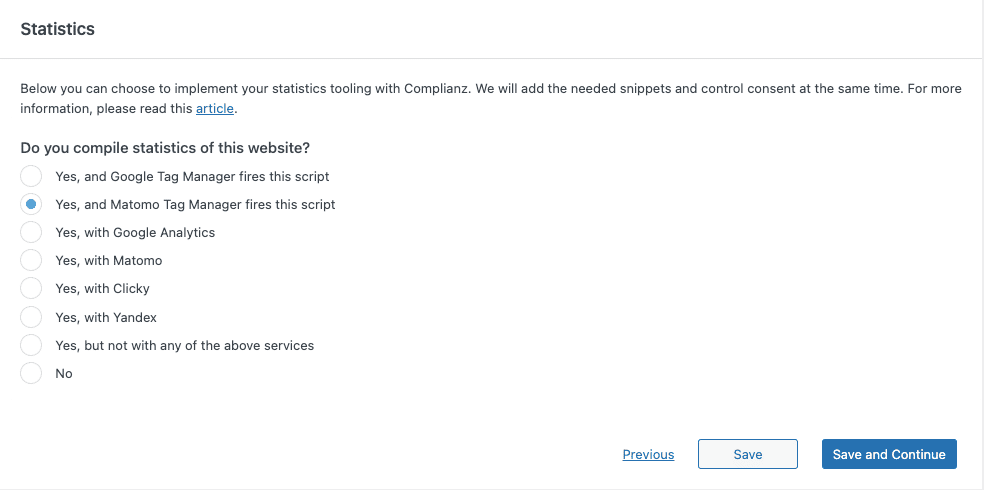
First we will need Complianz add Matomo Tag Manager so it can control the script and fire events when necessary. Select Yes, and Matomo Tag Manager fires this script in the wizard under Consent – Statistics.
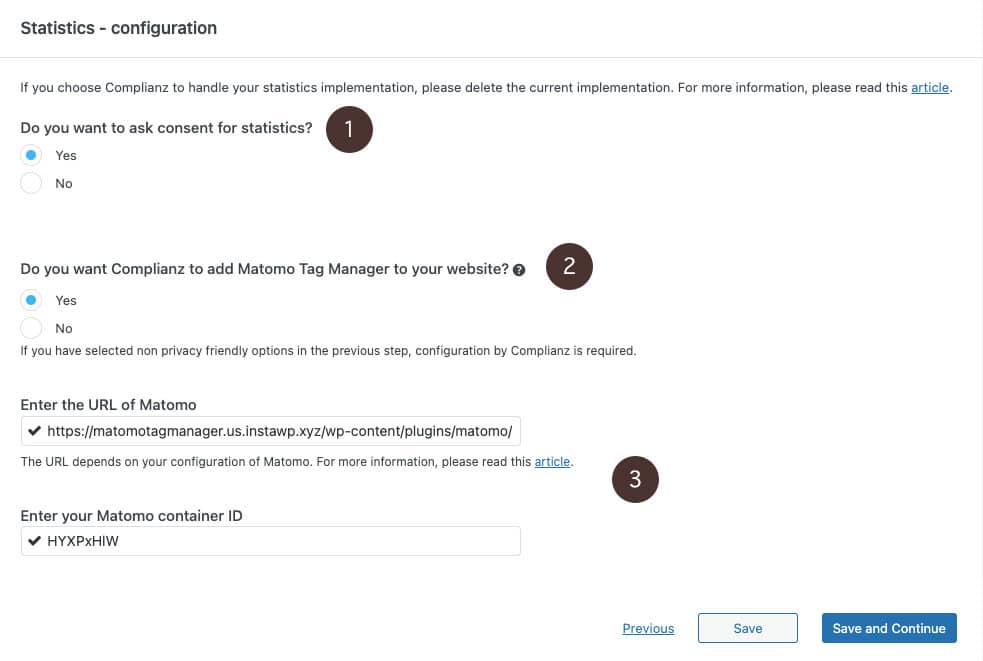
When you hit “Save and Continue” you will get the below page, where you can configure how you will add and enable Matomo Tag Manager. We will explain the 3 points as shown.
This answer will decide if your will be using the “Statistics” category on your cookie banner and related legal texts. (If no other statistic tools are being used). If you answer “No”, statistics will be set prior to consent.
If you choose to let Complianz add your Matomo snippet you should continue to “3“. If you want to insert your snippet yourself, Complianz will only fire the events.
If you choose to let Complianz add your Matomo snippet you will need to enter two variables. Both are available in the ‘original snippet’ available in Matomo. Depending on your configuration of Matomo the URL is different. This example is from the Matomo plugin. For cloud the URL will differ, both can be used in Complianz.
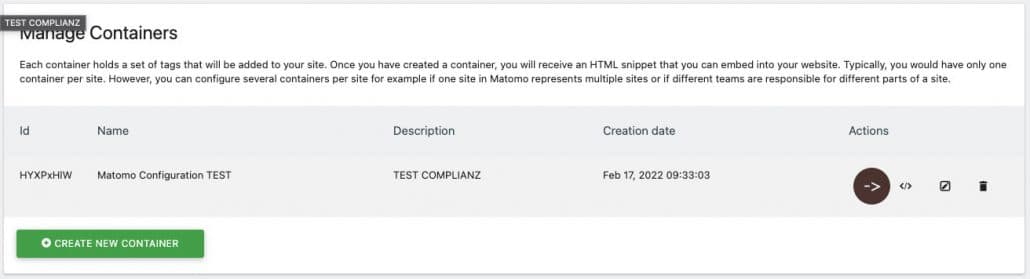
You will find your code under “Manage Containers“
You will find the below snippet:
					console.log( 'Example Code Snippet' );

<!-- Matomo Tag Manager -->
<script>
var _mtm = window._mtm = window._mtm || [];
_mtm.push({'mtm.startTime': (new Date().getTime()), 'event': 'mtm.Start'});
var d=document, g=d.createElement('script'), s=d.getElementsByTagName('script')[0];
g.async=true; g.src='https://matomotagmanager.us.instawp.xyz/wp-content/plugins/matomo/app/../../../uploads/matomo/container_HYXPxHlW.js'; s.parentNode.insertBefore(g,s);
</script>
<!-- End Matomo Tag Manager -->
The information you need is on line 8: The URL of you dashboard and your container ID: Make sure you copy/paste these to Complianz as the URL of Matomo:
https://matomotagmanager.us.instawp.xyz/wp-content/plugins/matomo/app/../../../uploads/matomoAnd the Container ID:
HYXPxHlWJust to double-check if your implementation is correct, please check in your browser console on page load if you don’t have any errors. If the URL is not correct you will get a 404.
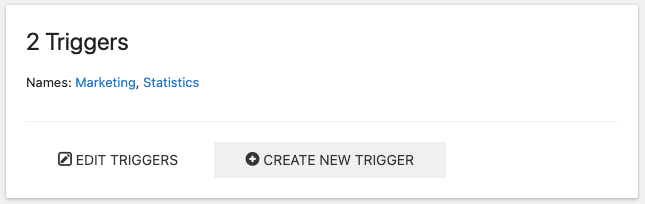
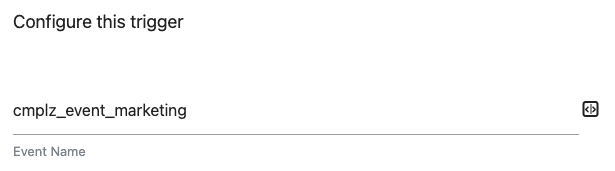
As you’re still in “Manage Containers”, hit the settings button and go to “Create New Trigger”
Under Configure this trigger; you can choose between the following event names:
| Event name | Category | Availability |
| cmplz_event_functional | Functional | Default |
| cmplz_event_preferences | Preferences | Configuration |
| cmplz_event_statistics | Statistics | Configuration |
| cmplz_event_marketing | Marketing | Configuration |
For example:
Now you can use this event to trigger your tag. It will be available under Tags, in the dropdown and uses the name of the trigger.