Below we will give a quick introduction on how to customize your new Cookie Banner. There are different approaches you can take to customize to your liking, depending on the level of customization that is desired.
1. Default Settings
The new cookie banner is made from a single HTML template that is modular by design. This means all the elements you see in the banner can be changed and removed if so desired. We will do a quick run-through of the possibilities.
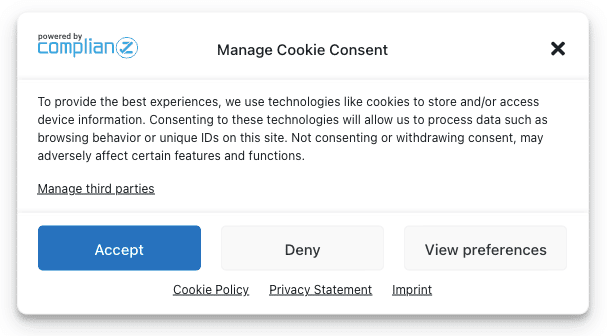
We recommend starting with our default template, you can default to our template by clicking “Reset values”.
From there you can choose to do with each element what you want. Remove or Change.
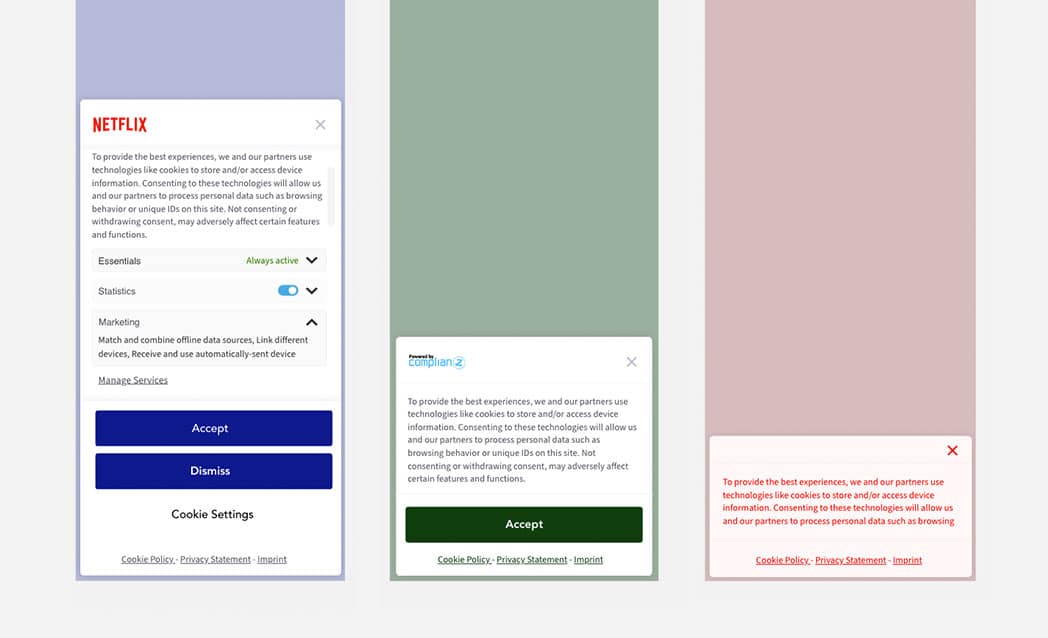
1.1 From Default to Minimalistic
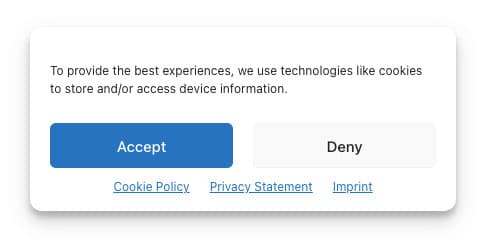
Starting with the below banner you can achieve a more minimalistic approach with just a few clicks.
You can now remove or change the following in just a few clicks;
- Remove header by disabling logo, title and close button.
- Change your template to Accept/Deny
- Shorten the text
- Set the banner width minus 100px
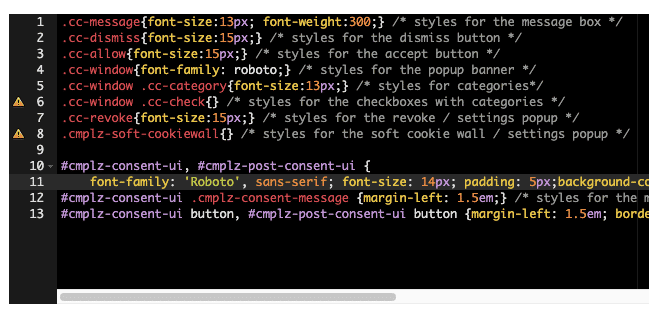
The possibilities are endless, you can of course choose your colors, border radius, position, and more. To even go further you can add some CSS, or start from scratch as shown below. You can add custom CSS by enabling the custom CSS setting which will enable the common classes directly available to edit.

2. From Scratch
Want to start from scratch and make your own, custom banner template? You can override the default Complianz banner HTML and CSS with your own custom template.
Please follow the instructions listed here: https://complianz.io/create-your-own-banner-from-scratch/