When you’re using Site Kit with Complianz, you can only use Advanced Consent Mode, this is where the Google Tags are loaded directly, and use a tracking mechanism based on consent preferences.
Under Complianz -> Wizard -> Statistics, indicate that you’re using Google Analytics (Yes, with Google Analytics).

1. Blocking Google Tags
The question “Do you want to block all Google Tags before consent?” is default set to “No”, or configured in Advanced Mode. This means the Google Tags will be released on page load and depending on the consent states pushed through the layer will adapt its tracking mechanism accordingly. For example, on pageload a Google Tag will be set to use parameters only, without cookies. It will still connect to the Google servers.
If you block Google Tags before consent, Consent Mode will work after consent only. This is the non-hybrid, or ‘basic’ model of Consent Mode.
2. What is url_passthrough?
When a user lands on your website after clicking an ad, information about the ad may be appended to your landing page URLs as a query parameter. In order to improve conversion accuracy, this information is usually stored in first-party cookies on your domain.
However, if ad_storage is set to denied, this information will not be stored locally. Read more
2. What is ads_data_redaction?
When ads_data_redaction is true and ad_storage is denied, ad click identifiers sent in network requests by Google Ads and Floodlight tags will be redacted. Network requests will also be sent through a cookieless domain.
3. Adding Google Tags
You’re required to at least use one Google Tag, under statistics to enable Consent Mode. Other tags are optional and are split between Statistics and Marketing categories.
The additonal tag field can be used with a variety of tags, comma separated for example.

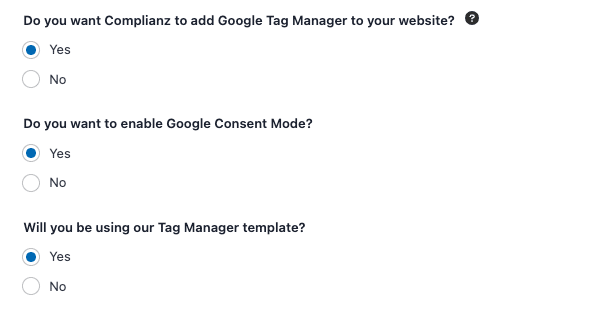
You can configure Google Tag Manager and Consent Mode by using our GTM template. First, configure Tag Manager in Complianz by indicating “Yes, with Google Tag Manager” under Wizard -> Consent -> Statistics, and then configuring the relevant questions for Consent Mode and entering your GTM Container ID.
Downloading the template
Now you can proceed directly with implementing the Complianz template, directly in Google Tag Manager. This template is available in the community gallery.

You can find it by going to “Templates” in your GTM dashboard, and under “Tag Templates” search for “Complianz”.
Fire the template as a “Tag” in your workspace as shown below. It should be triggered by Consent Initialization – All Pages, so that it fires before other tags.

Configuring the template (Optional)
The fastest way is to edit the tag and implement the default options. Complianz will figure out how your configuration should react to the defaultConsent state.
If you click the pencil to edit the Tag, continue with Add Row. You will see below options:

Blocking Google Tags?
Consent Mode in Tag Manager is default set to Advanced Mode.
This means the Google Tags will be released on page load and depending on the consent states pushed through the layer will adapt its tracking mechanism accordingly. For example, on pageload a Google Tag will be set to use parameters only, without cookies. It will still connect to the Google servers.
If you block Google Tags before consent, Consent Mode will work after consent only. This is the non-hybrid, or ‘basic’ model of Consent Mode and be achieved by using the Complianz default Tag Manager events, described here.
Options
This is what it means – We see the default, and preferred set-up for Complianz.
Region: Here you can differentiate between different regions. For Complianz this isn’t necessary as this is done automatically. Leave empty for best results.
Preferences, Analytics and Advertising: These are the categories that are denied before consent. Complianz grants functional and security related services by default. You can change the defaults here.
Redact Ads Data and Enable URL passthrough: These are parameters to add functionality based on consent parameters. For in-depth information read more on Google.com. Only use this feature if you’re using advertising services from Google and know what it does.

