If you’re using Google Site Kit and Complianz on your website, this guide will walk you through the essential steps to integrate Google Analytics and enable Google Consent Mode seamlessly. Whether you’re setting up for the first time or refining your existing setup, you’ll find clear instructions and helpful tips to ensure everything functions smoothly. If you haven’t installed Google Site Kit yet, let’s start with that:
- Go to your WordPress Admin Dashboard.
- Navigate to Plugins > Add New.
- Search for Google Site Kit in the pluginrepository.
- Click Install Now, then Activate.
- Follow the on-screen instructions to connect your Google account and set up the plugin.
Step 1: Set Up Google Analytics
If you’ve already connected your Google Analytics container using Google Site Kit, you can skip this step. If not, follow the steps below:
1.1 Connect Google Analytics
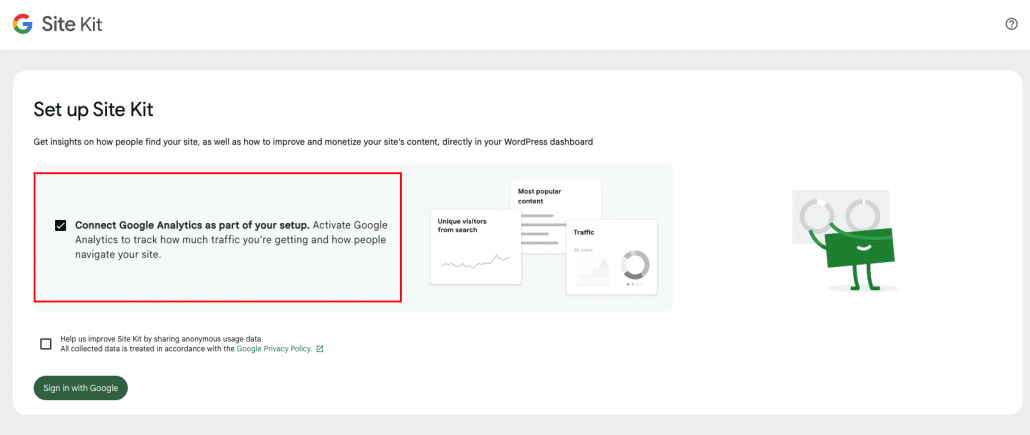
Once Site Kit is installed, you will be asked to sign in with your Google account:
Make sure to check the box that says, “Connect Google Analytics as part of your setup.”
Click Sign in with Google and complete the verification process.
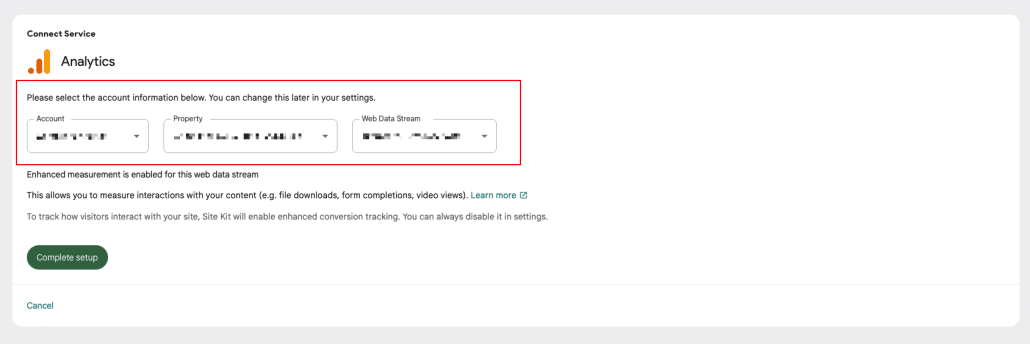
1.2 Complete Google Analytics Setup
After signing in, choose your Google Analytics account and Web Data Stream. If you don’t have them set up yet, you can create them directly during this process.
Once selected, click Complete Setup.
This will fully integrate Google Analytics with Site Kit.
Step 2: Enable Consent Mode in Google Site Kit
- Navigate to Google Site Kit > Admin Settings.
- Find the Consent Mode section and toggle it on to enable it.
- You will also need to install the WP Consent API Plugin for compatibility with Google Consent Mode (MANDATORY).
Step 3: Configure Complianz for Google Analytics and Consent Mode
Now that Site Kit and Google Analytics are set up, you need to configure Complianz to manage user consent for analytics and ensure your setup works properly.
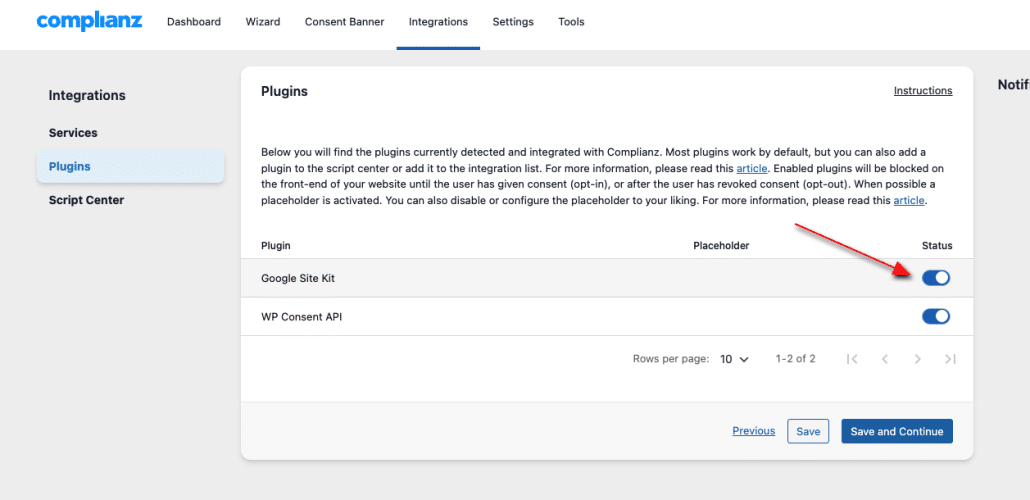
3.1 Enable Google Site Kit Integration in Complianz
Complianz will automatically detect Google Site Kit once installed, but make sure the integration is enabled:
- Go to the Complianz Dashboard > Integrations > Plugins.
- Ensure the Google Site Kit integration is toggled on.
- Click Save to save the changes.
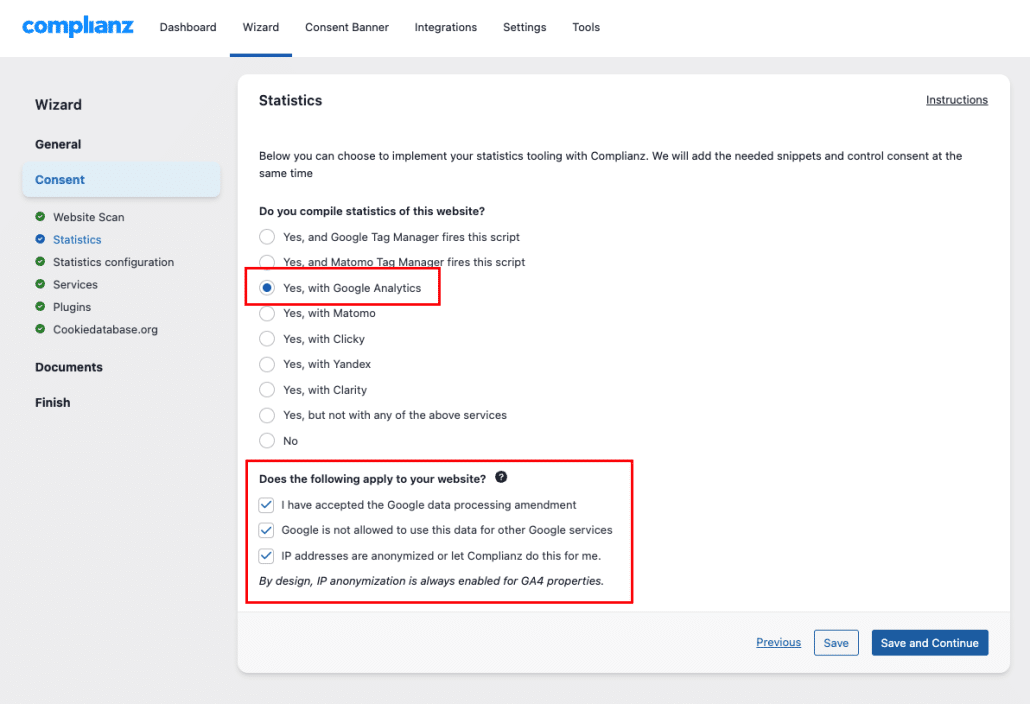
3.2 Configure Statistics Settings
- Go to Wizard > Consent > Statistics.
- Set “Do you compile statistics of this website?” to Yes, with Google Analytics.
- Review the options under “Does the following apply to your website?” and select any that are relevant. Consider most standard configurations will require these.
- Click Save and Continue.
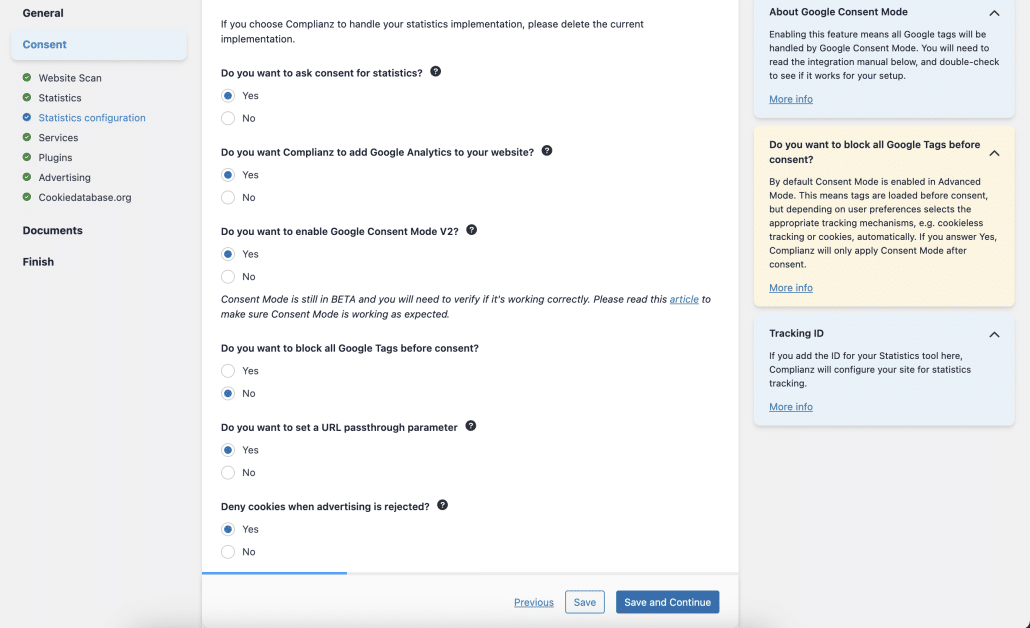
3.3 Configure the Statistics Section
In the Statistics Configuration section, apply the following settings:
- Do you want to ask consent for statistics?
- Set to Yes. Note: This option appears only if you selected “I have accepted the Google data processing amendment” in the previous section.
- Do you want to enable Google Consent Mode V2?
- Set to Yes.
- Do you want to set a URL passthrough parameter?
- This is optional, but it can improve conversion accuracy by passing along information like the client ID in the URL.
- Deny cookies when advertising is rejected?
- This is optional as well. When enabled, cookies will not be set if ad_storage is denied, and any identifiers in network requests will be redacted.
Click Save to complete the setup.
Step 4: Verify if Google Consent Mode is Working Properly
-
Open Google Tag Assistant and click Add Domain.
-
Enter your site’s domain and click Connect.
-
Once inside the debug view, you’ll see that the default consent state under “Consent” is set to Denied for all consent signals.
To verify that it’s working:- Accept the cookie banner on the external debug page that was opened.
- Next, check the Consent section again in Tag Assistant.
If everything is set up correctly, the consent signals should now show as Granted.
This means that Google Consent Mode is working properly.
That’s it. We hope you have given a good overview for the set up of the Google Consent Mode with our plugin.
To avoid common issues like code duplication, which can affect consent tracking and data accuracy, consider the following general steps:
- Check for Duplicate Implementations: Ensure there are no duplicate Consent States or Google script snippets on your website. Such duplications, often introduced by other third-party plugins, can cause issues in functionality.
Having issues? Please reach out to our Support!