
Follow this guide to install Complianz, upgrade to Premium if you’ve bought it, and complete the setup wizard. When you’re done, your consent banner is live and Complianz blocks cookies and scripts until your visitors give consent.
Step 1: Install Complianz
- In your WordPress dashboard, go to Plugins → Add Plugin.
- Search for Complianz.
- Find Complianz GDPR/CCPA Cookie Consent Banner by Complianz and click Install Now.
- Click Activate.
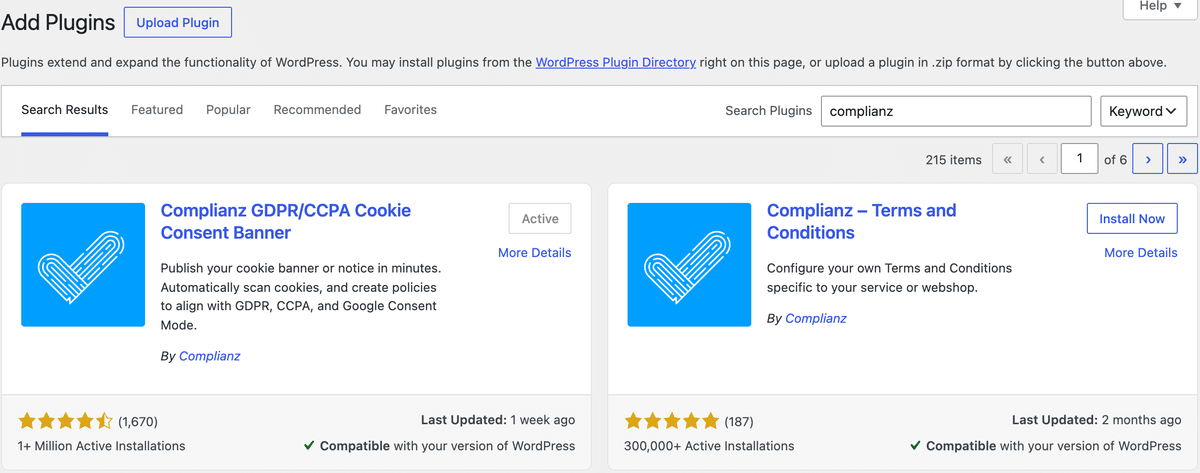
Complianz now appears in your WordPress menu.
Step 2: Upgrade to Premium (optional)
If you’ve bought Premium, install it now so the wizard shows the Premium options. If you’re using the free version, skip to Step 3.
What Premium adds to the wizard
- Different consent banners for different regions, based on your visitors’ location
- A privacy statement, imprint and disclaimer generated for you
- Google Consent Mode v2
- Records of Consent and Data Request Forms
- Scanning of custom post types
- Go to complianz.io/pricing, choose your plan and complete the purchase.
- Download the plugin from the link in your confirmation email.
- In WordPress, go to Plugins → Add Plugin and click Upload Plugin. Select the
complianz-gdpr-premiumfile, then click Install Now and Activate.
You keep the settings from the free version, so you won’t need to enter anything twice.
Step 3: Verify your email for the Website Scan
The first time you open Complianz, a Welcome to Complianz window asks for your email address. Complianz uses it to verify your website before it runs the Website Scan.
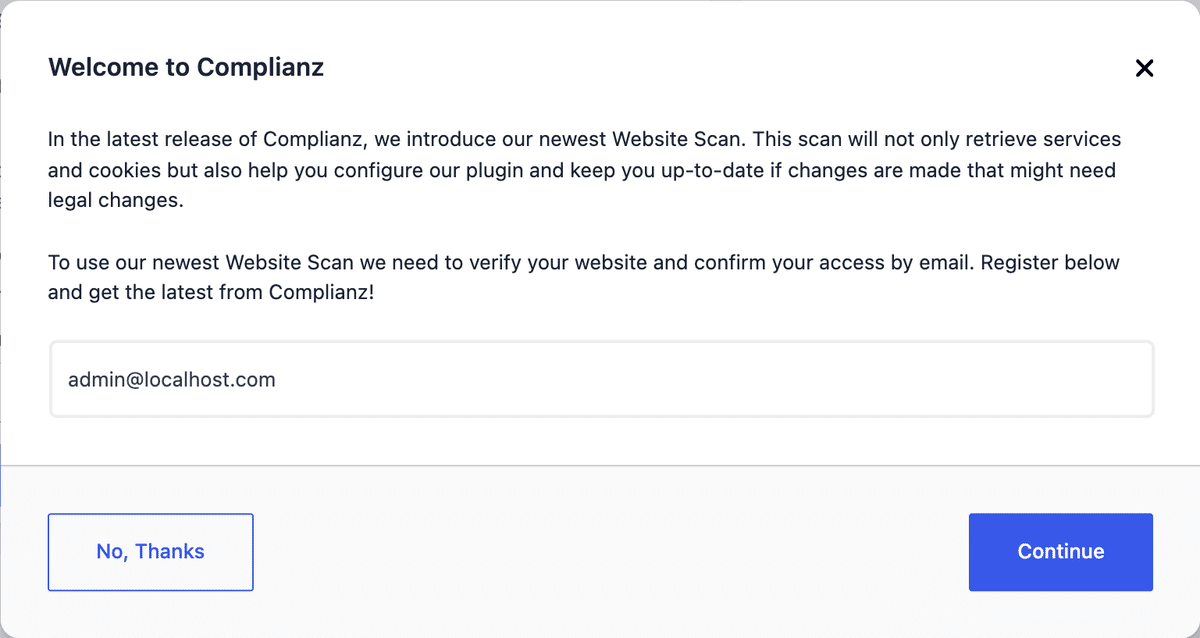
- Check the email address and click Continue.
- Open the confirmation email from Complianz and click the link in it.
If you click No, Thanks, you can verify later from the Website Scan step (Step 6). Complianz may also offer a tips newsletter and other free plugins. These are optional, so you can skip them. Having trouble? See Website scan authentication errors.
Step 4: Open the wizard
Go to Complianz → Dashboard and click Continue Wizard. The wizard has four parts: General, Consent, Documents and Finish. Click Save and Continue at the end of each step, or Previous to go back.
💡 Tip:
Finish the whole wizard before you check your site. Complianz doesn’t show the banner until you turn it on in the last step.
Step 5: Set up the General section
Visitors
Choose the privacy law you want to apply to your visitors, for example European Union (GDPR). The free version applies one law to all visitors. With Premium, you can target several regions and show each visitor the banner for their location.
Then answer the follow-up questions. They depend on the law you chose. For the GDPR, Complianz asks whether you target Germany, Austria, Belgium or Spain, and whether visitors can log in to a restricted area of your site.
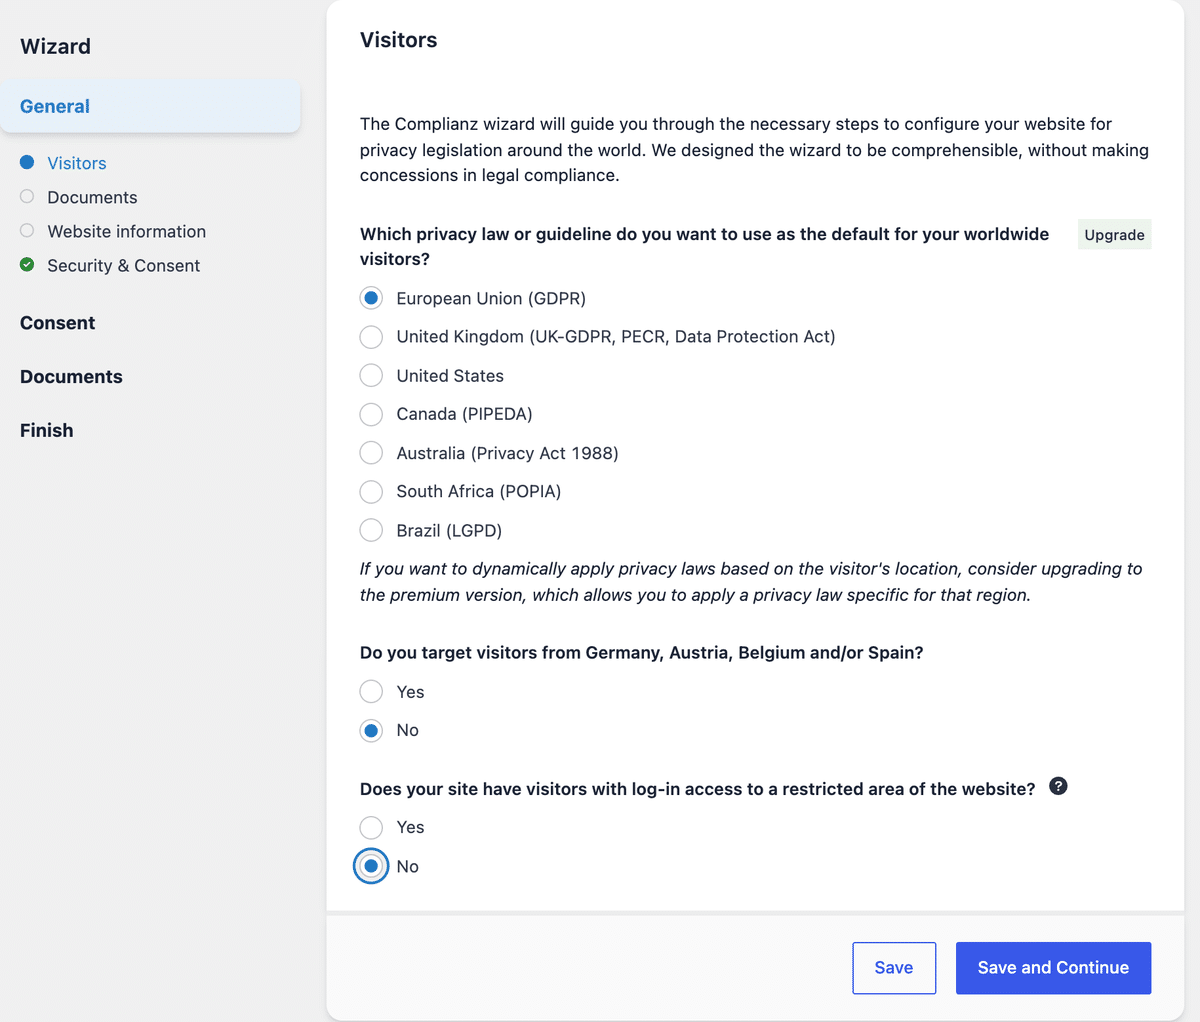
Only choose the regions your website is meant for. To learn more, read What region(s) do I target?. For North America, see Canada: CASL and PIPEDA, Quebec Law 25 and CCPA requirements for WordPress.
Documents
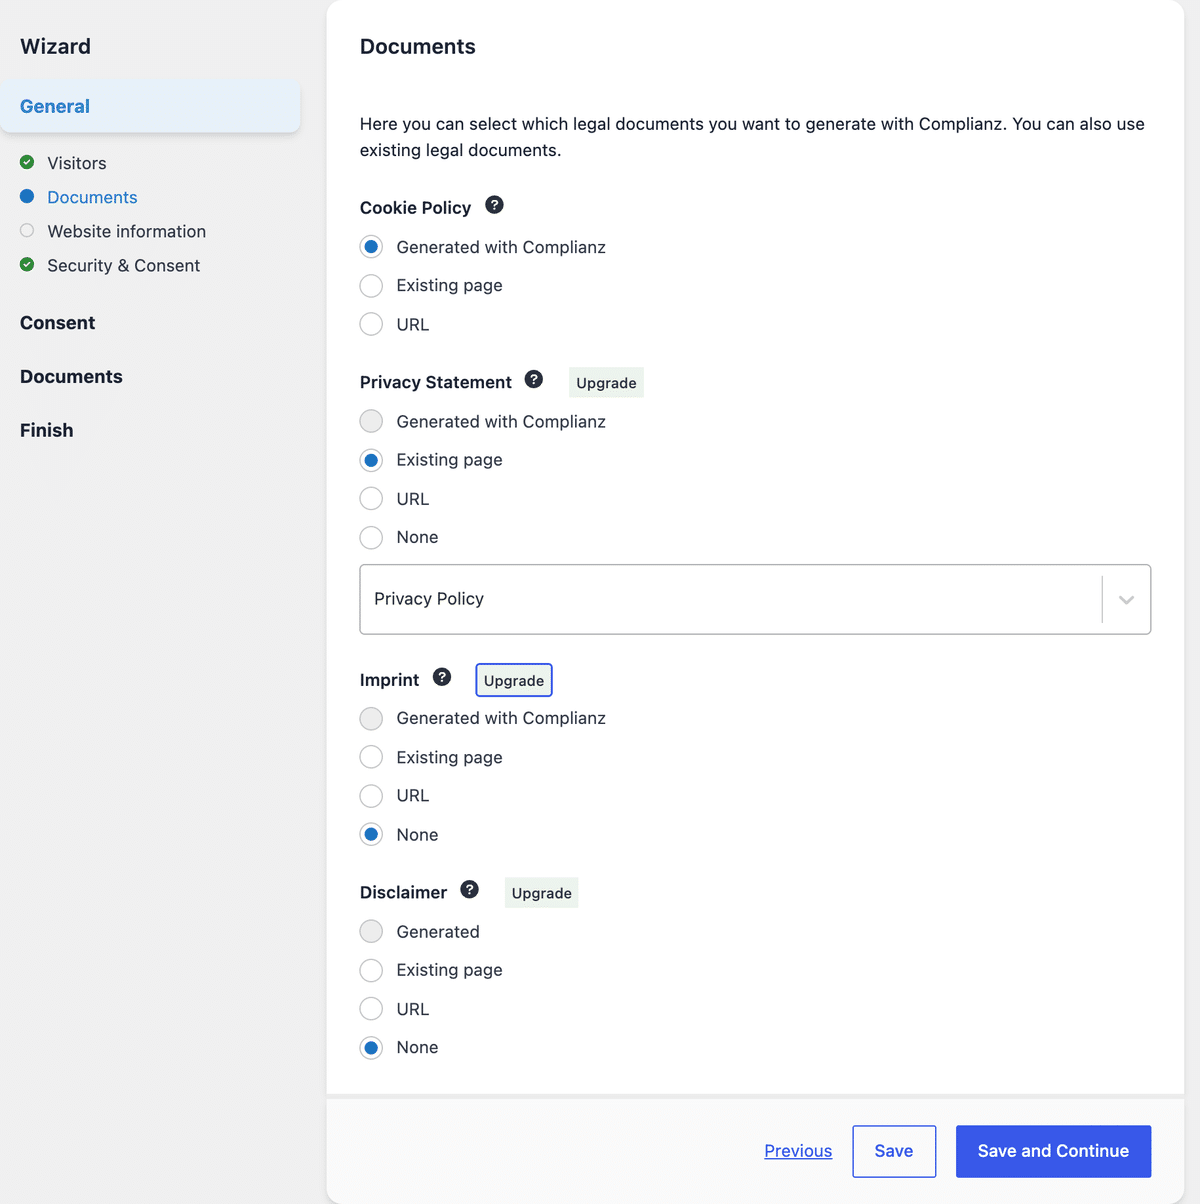
Choose how you want to handle each legal document:
- Cookie Policy: select Generated with Complianz if you don’t have one yet.
- Privacy Statement: link an Existing page or a URL. Generating it with Complianz is a Premium feature.
- Imprint and Disclaimer: link existing ones, generate them with Premium, or select None.
Website information
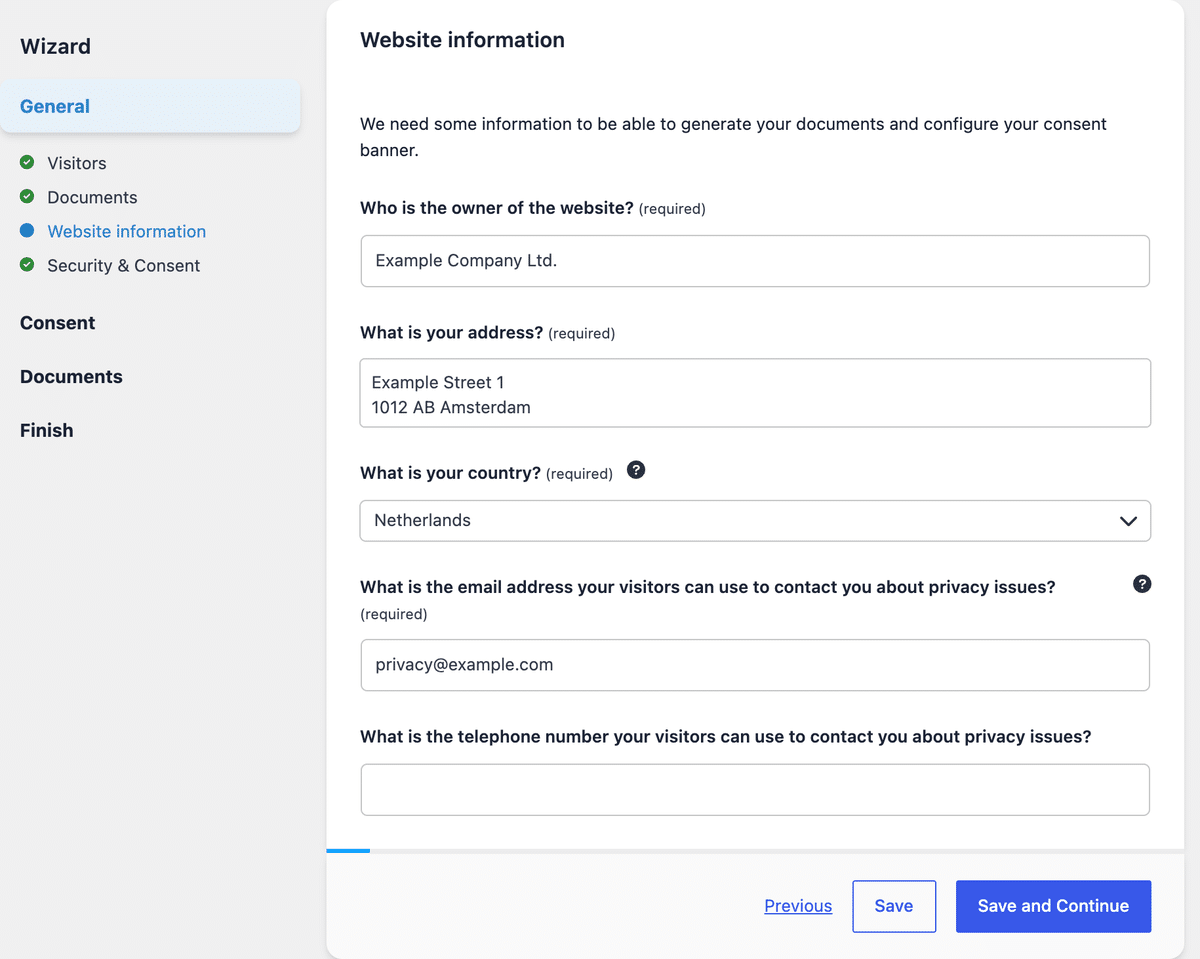
Enter the website owner’s name, address and country, plus an email address visitors can use for privacy questions. The phone number is optional. Complianz adds these details to your Cookie Policy.
Security & Consent
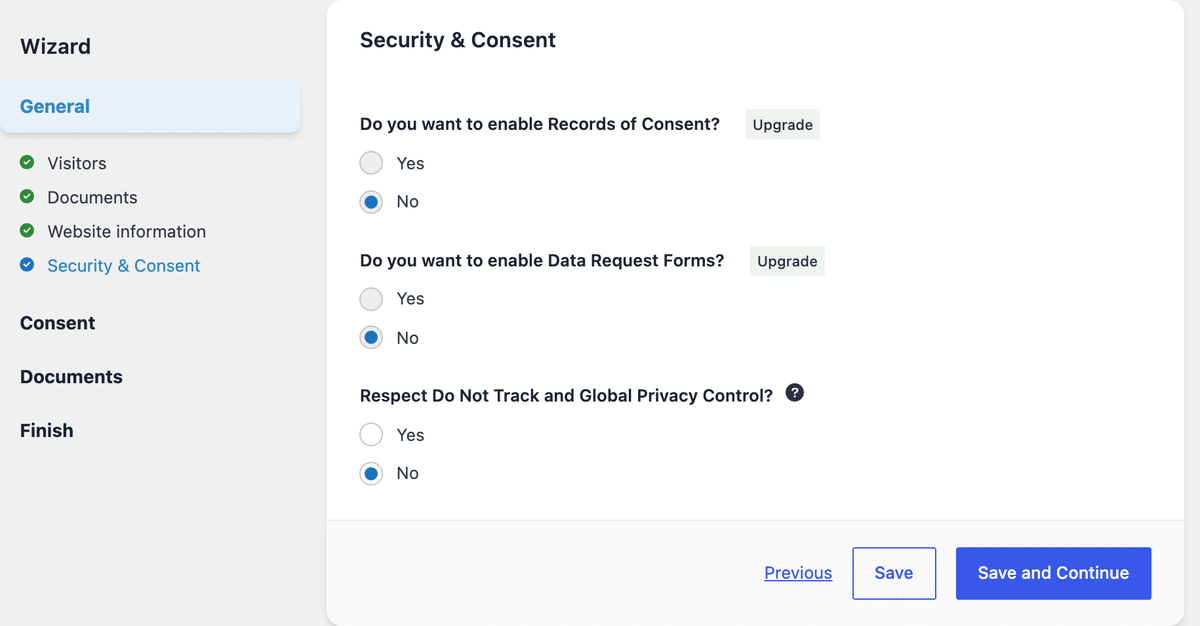
Choose whether to respect Do Not Track and Global Privacy Control browser signals (how Global Privacy Control works). Records of Consent and Data Request Forms are Premium features, so you can leave them set to No for now.
Step 6: Set up the Consent section
Website Scan
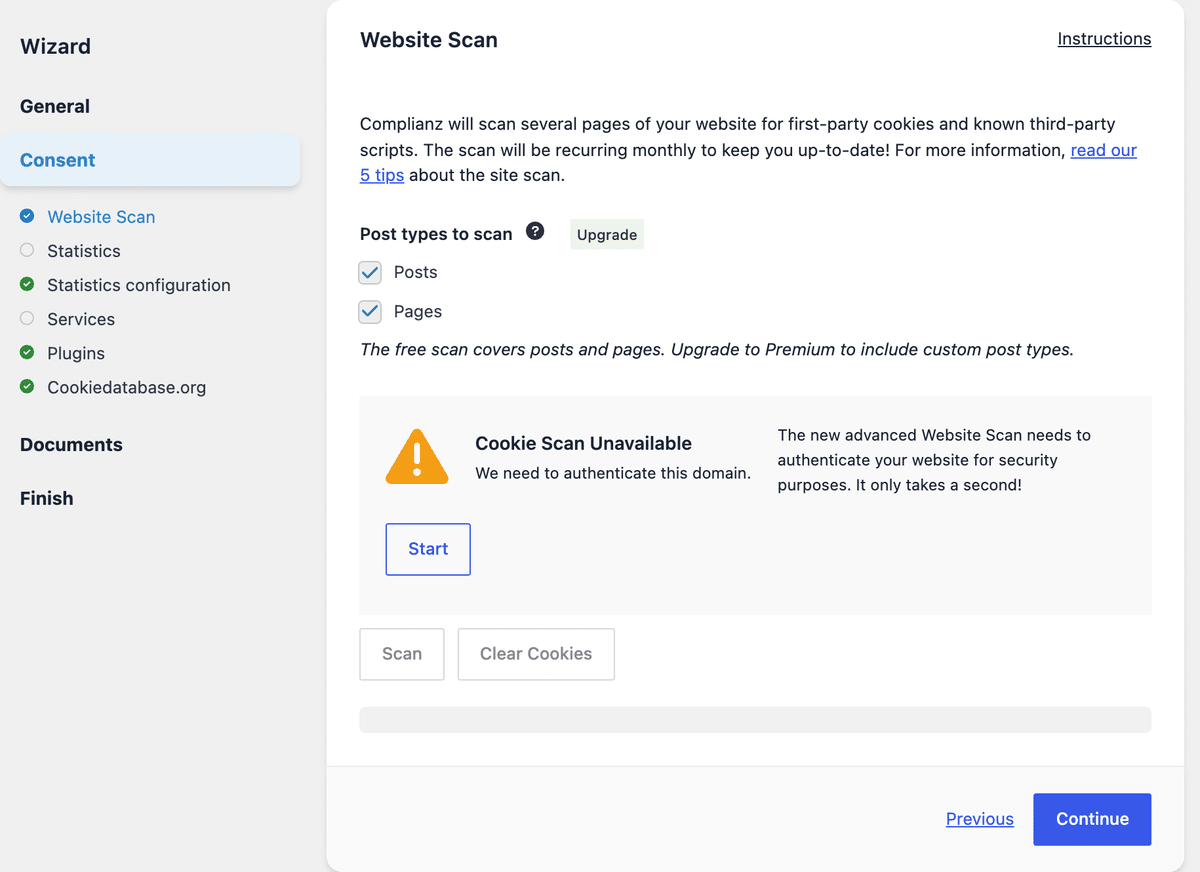
Complianz scans your posts and pages for first-party cookies and known third-party scripts, then repeats the scan every month. Scanning custom post types is a Premium feature.
If you haven’t verified your email yet, you’ll see Cookie Scan Unavailable. Click Start, enter your email address and click the link in the confirmation email. Then click Scan, and click Continue when it’s done.
To learn more, read About the Website Scan.
Statistics
Tell Complianz how you collect statistics, for example Yes, with Google Analytics or Yes, and Google Tag Manager fires this script. If you don’t use any statistics tool, select No.
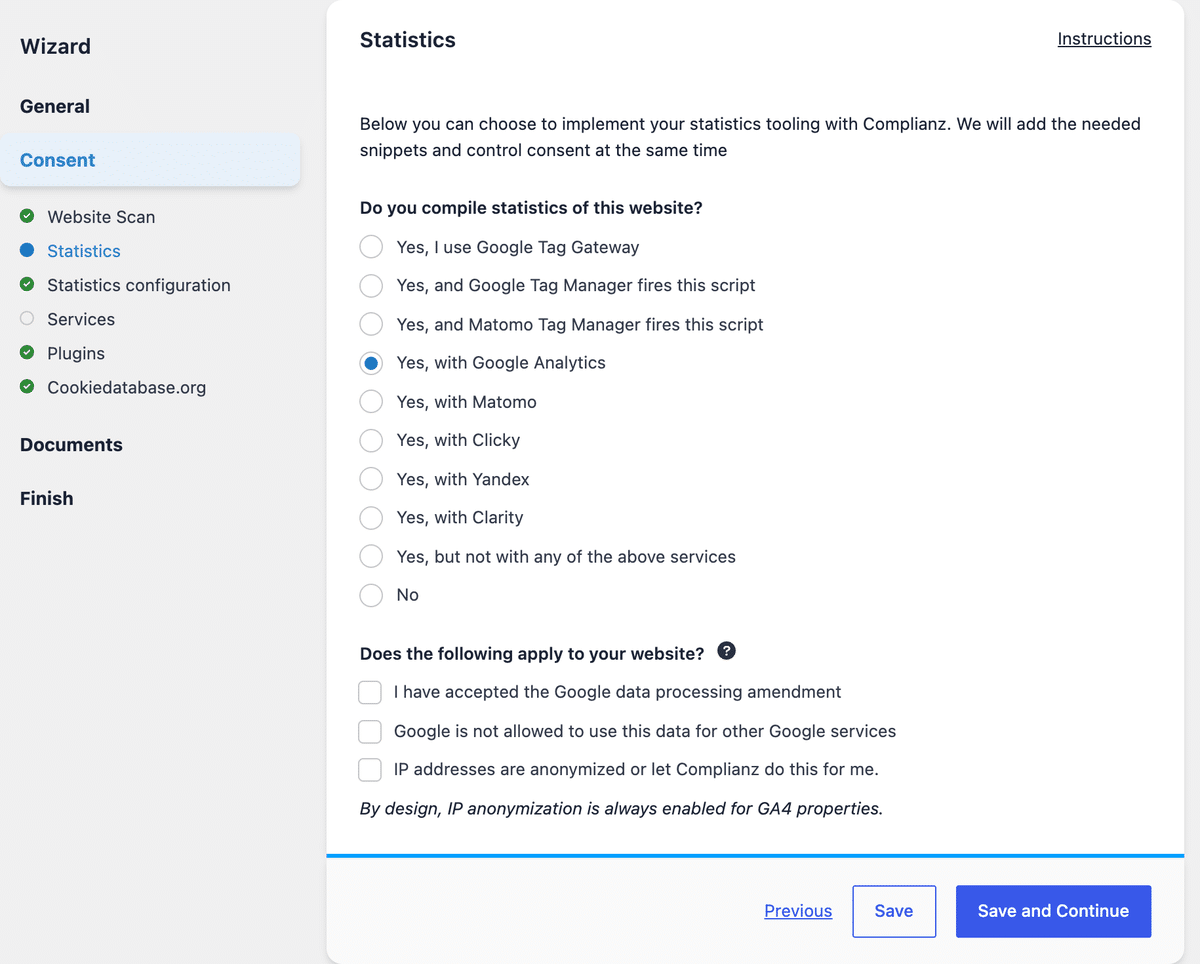
On the Statistics configuration step, choose whether Complianz should add the tracking code for you. If it should, enter your tag ID (for Google Analytics, the ID that starts with G-) and remove any other copy of the tracking code from your site, so it doesn’t load twice.
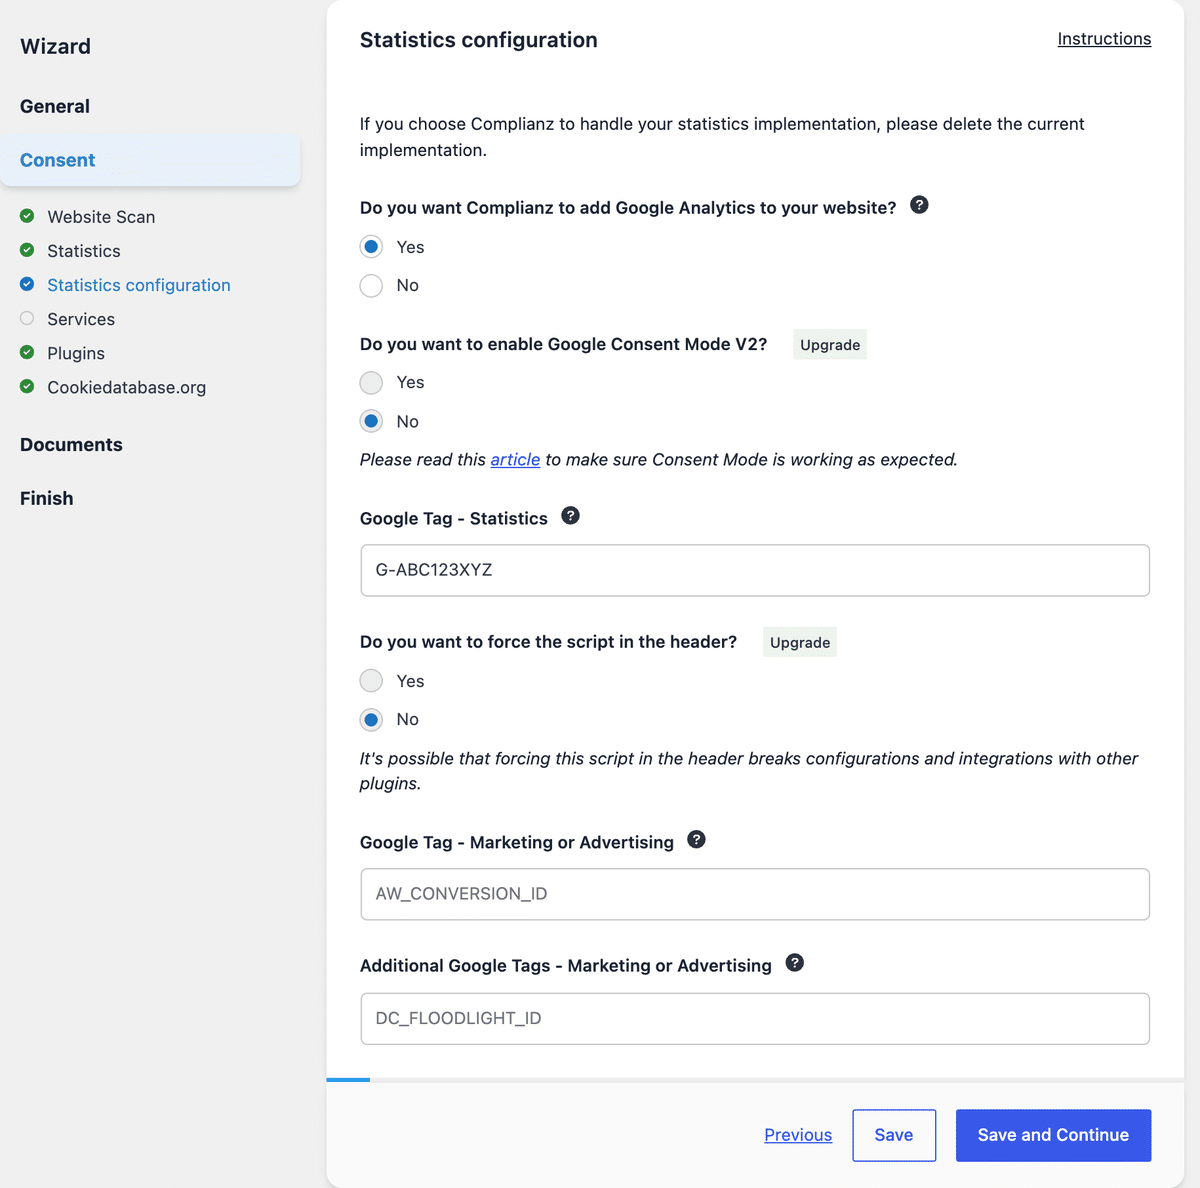
Google Consent Mode v2 is a Premium feature. For details, read Statistics configuration in the wizard and Consent Mode for Complianz 7.
Services
Tell Complianz which third-party services your site uses, such as Google Fonts, reCAPTCHA, Google Maps or YouTube. Select only the ones you actually use. Then answer the questions about social media embeds, advertising scripts and WordPress comments.
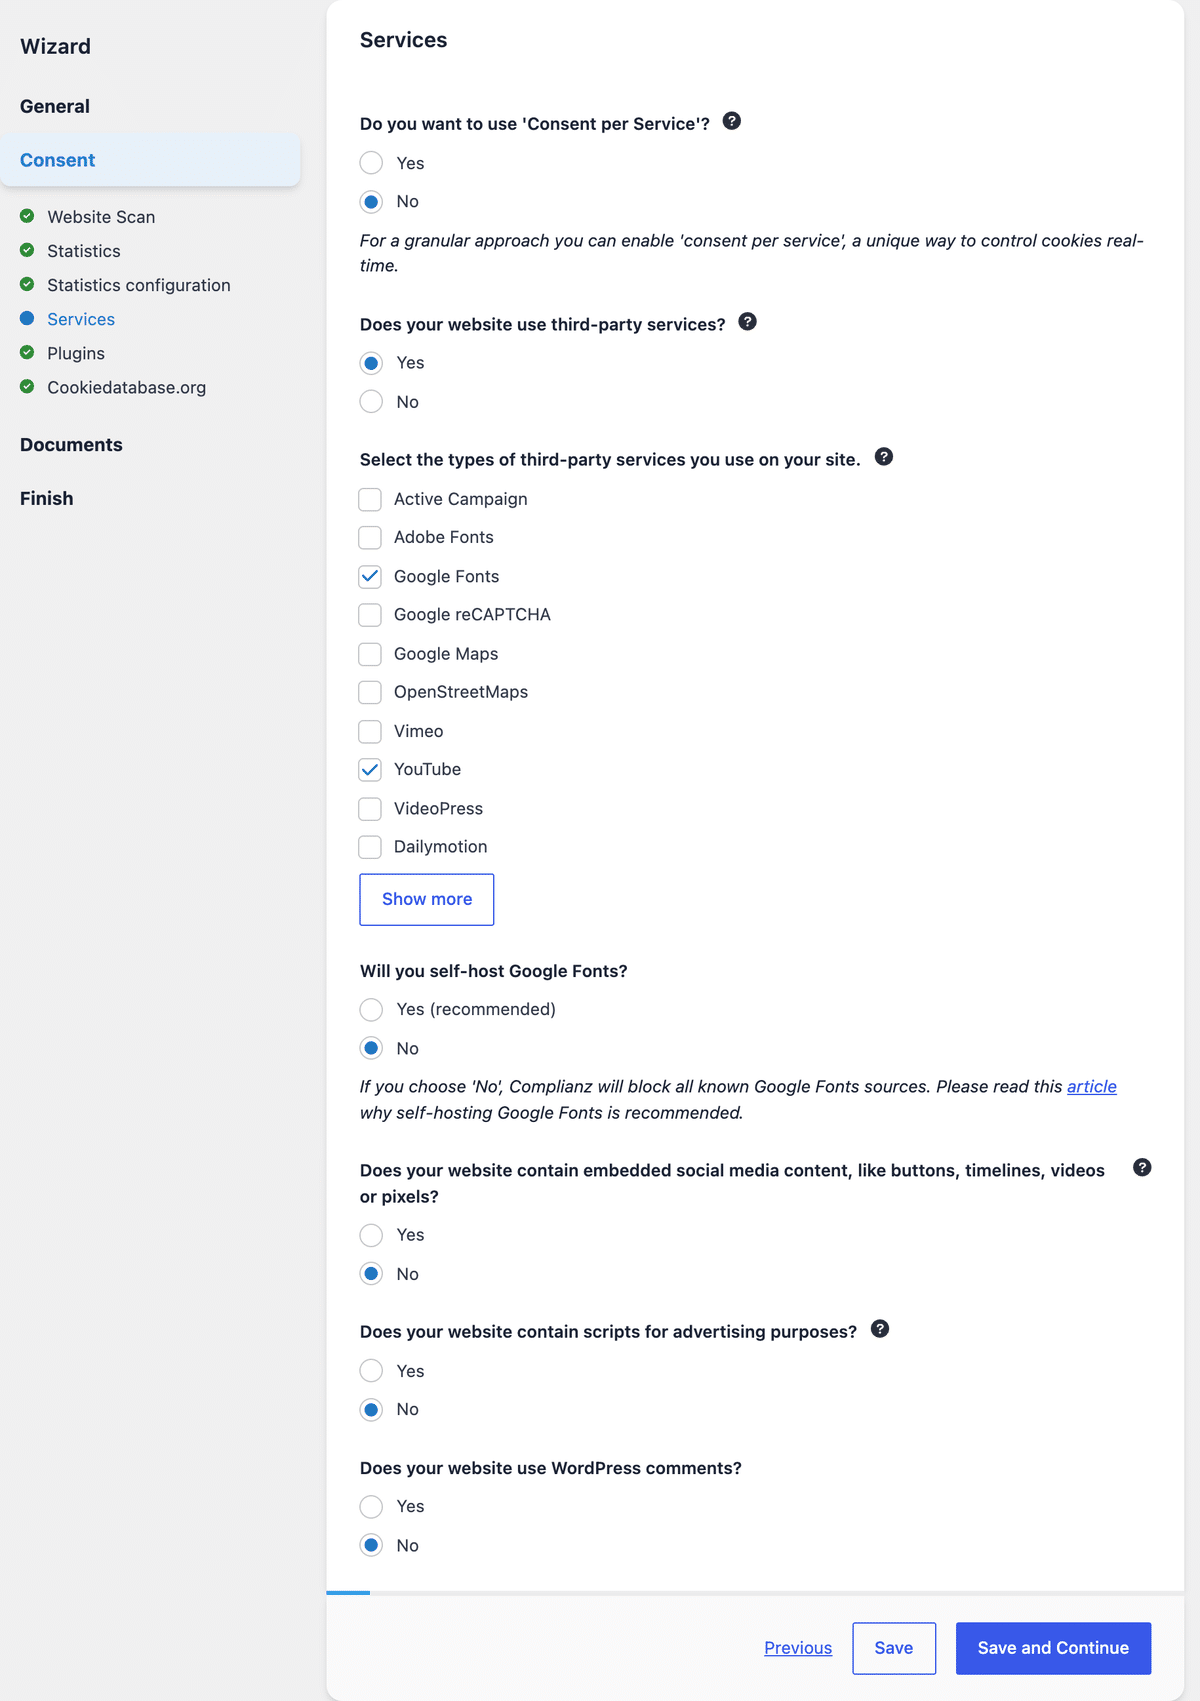
If your site shows ads, answer Yes to the advertising question to see the advertising frameworks you can enable. To set up TCF, read Implementing the TCF framework with Complianz.
Plugins
Complianz lists the plugin and service integrations it has enabled. You can change them later in Complianz → Integrations.
Cookiedatabase.org
Click Sync to add descriptions of your cookies and services to your Cookie Policy, then click Continue. The sync needs the same email verification as the Website Scan.
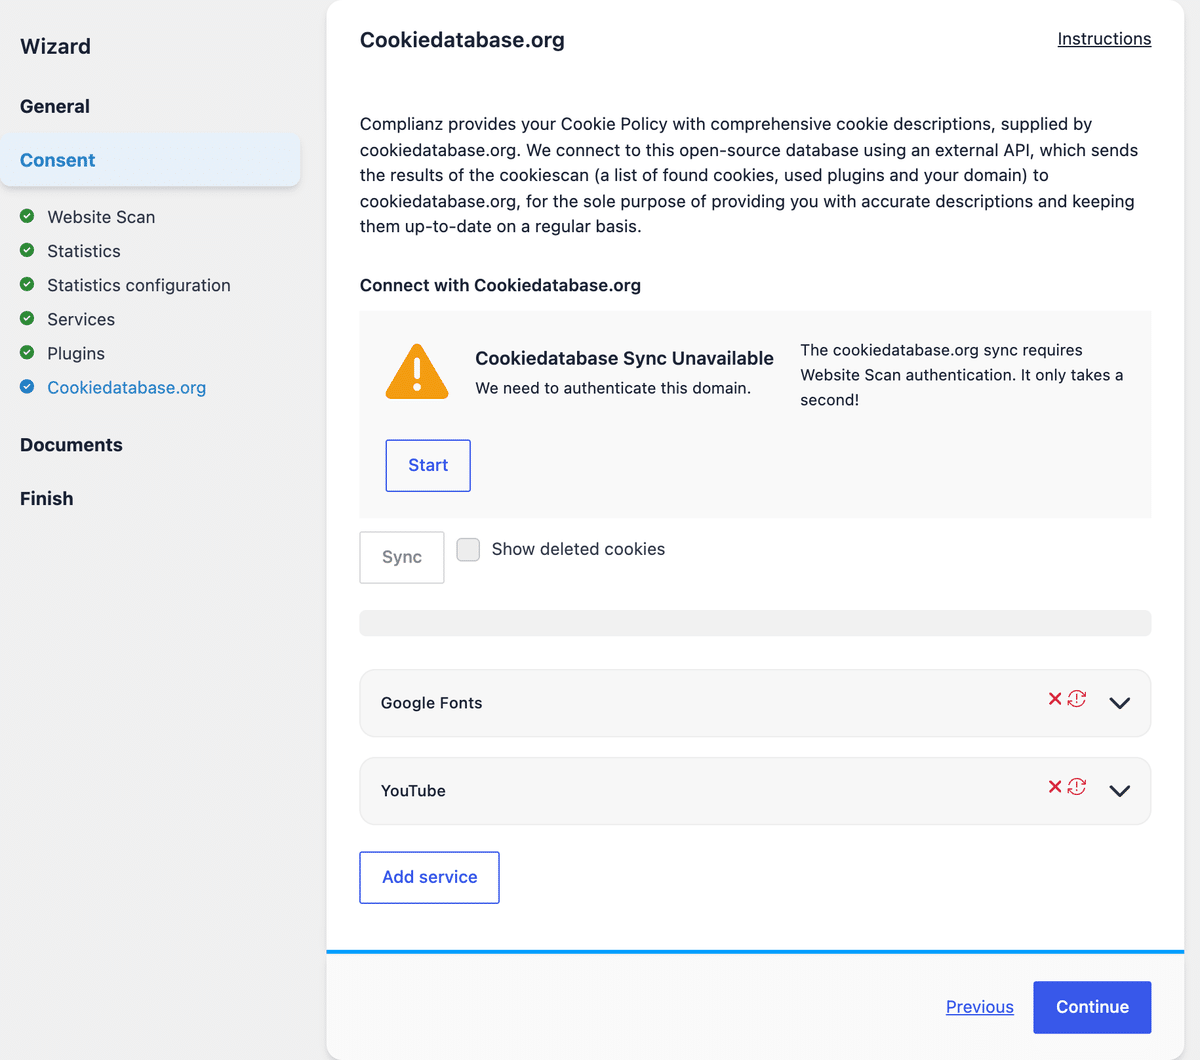
To edit a service or a cookie later, see How to manage cookies and services in Complianz.
Step 7: Create your documents
Click Create missing pages to create your Cookie Policy page. You can change the page title first, or later with Update.
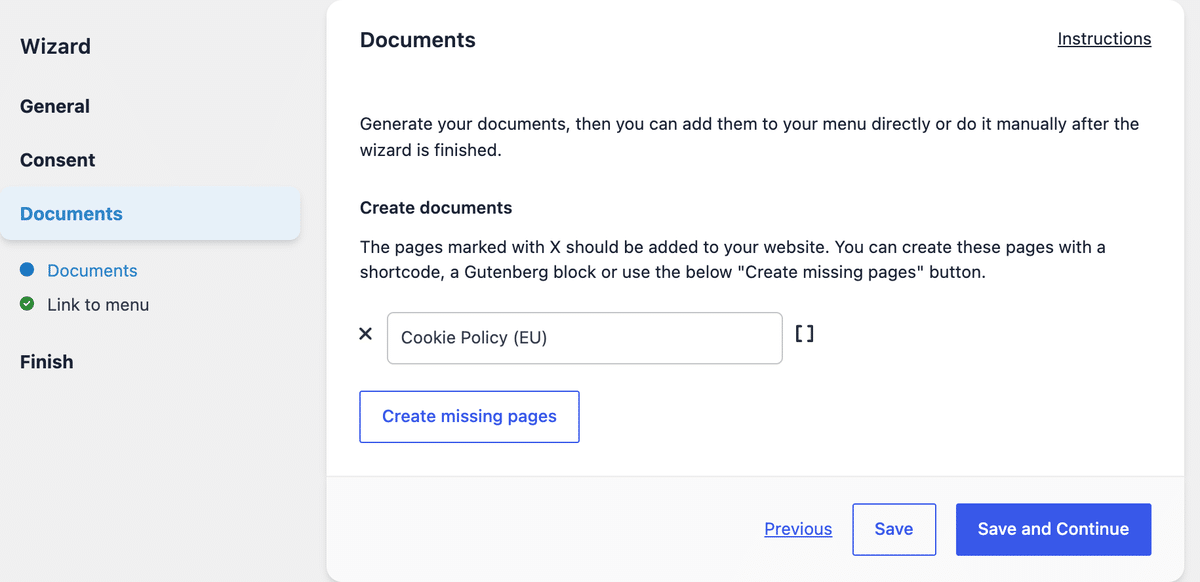
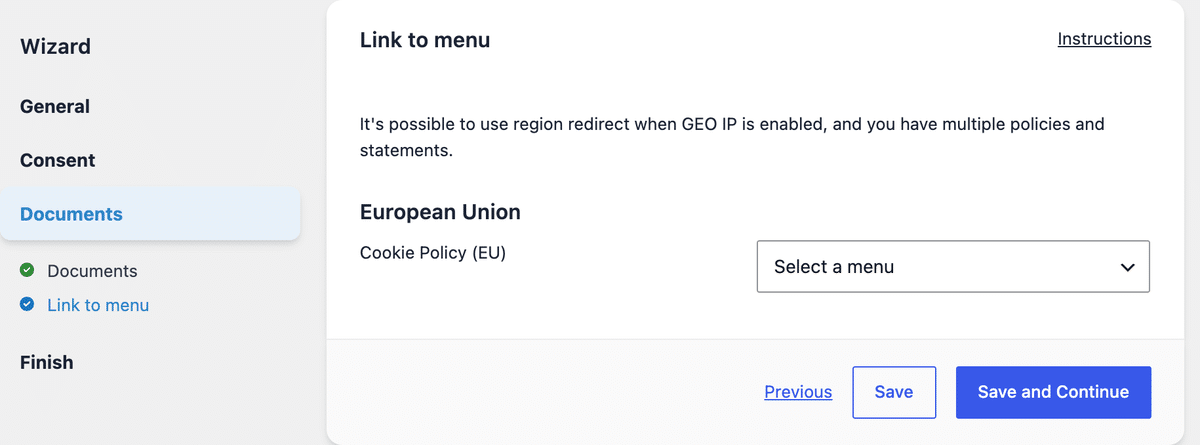
On the Link to menu step, choose a menu for the Cookie Policy, such as your footer menu. You can also leave it empty and add the link yourself later.
Step 8: Turn on the banner
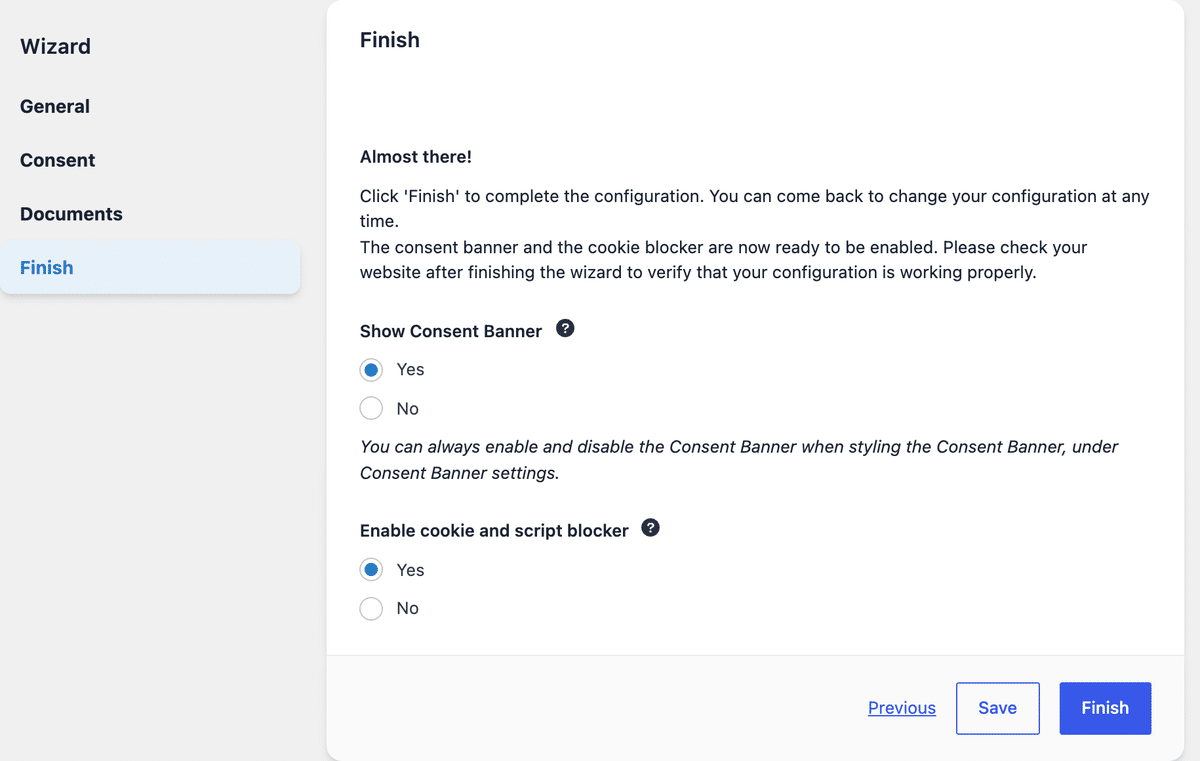
Set Show Consent Banner and Enable cookie and script blocker to Yes, then click Finish.
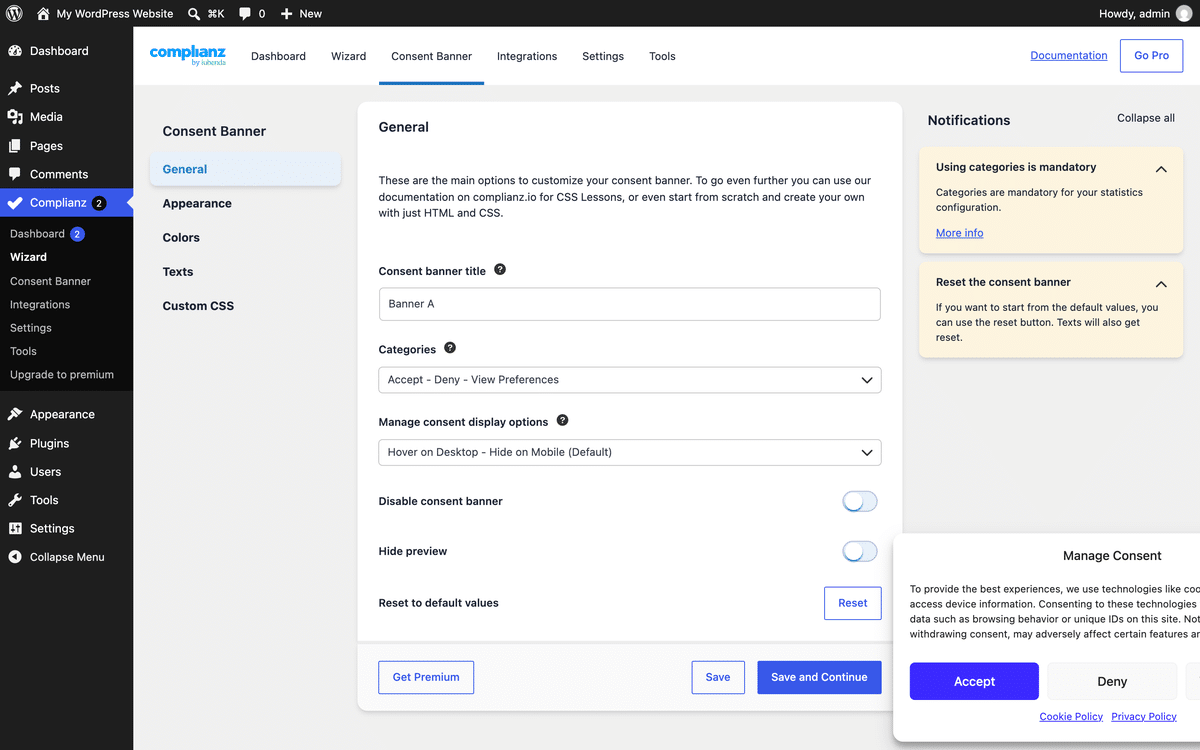
Complianz then opens the Consent Banner settings, with a preview of your banner. Here you can change its layout, colors and texts.
Step 9: Check your banner
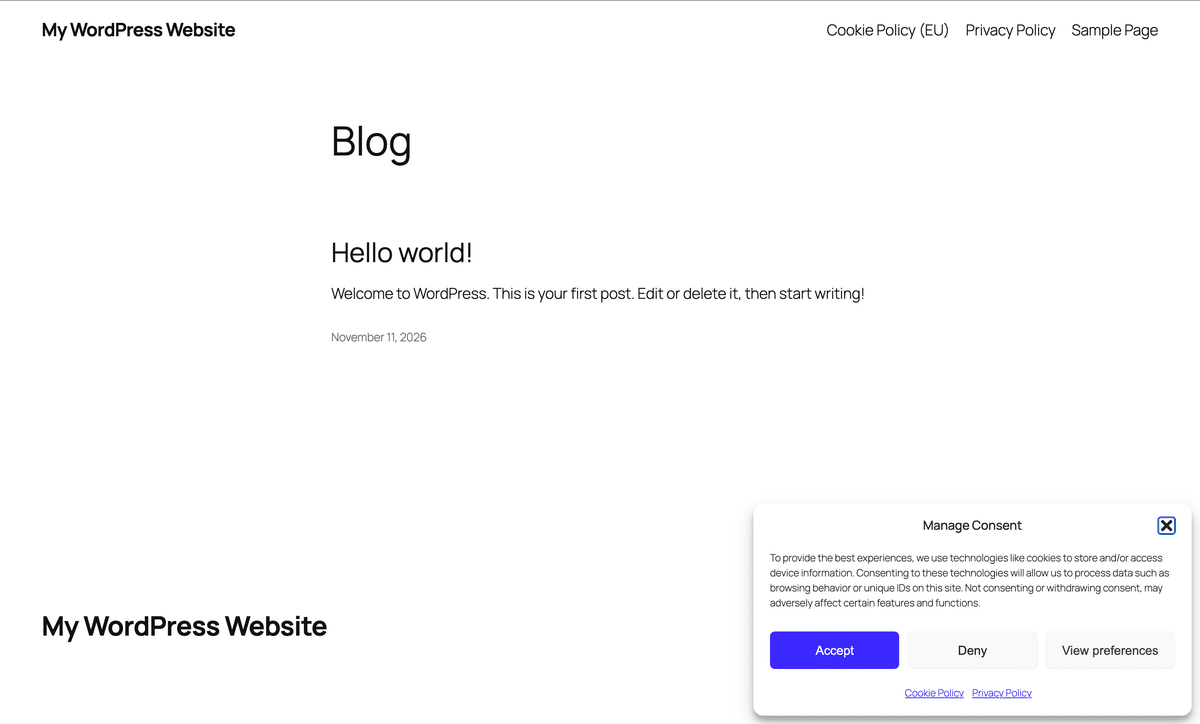
Clear your site’s cache (excluding Complianz from caching plugins), then open your site in a private browser window. You should see the consent banner.
💡 Tip:
If the cookie and script blocker breaks something on your site, turn on Safe Mode in Complianz → Settings while you look into it.
Banner not showing? Read Cookie banner does not appear.