
Below a step-by-step instruction how to use Complianz’ generated Cookie Policy for Shopify.
- Copy the Cookie Policy HTML from Complianz
- Create a Shopify Page
- Add the URL to your Cookie Banner
1. Copying the Cookie Policy from Complianz
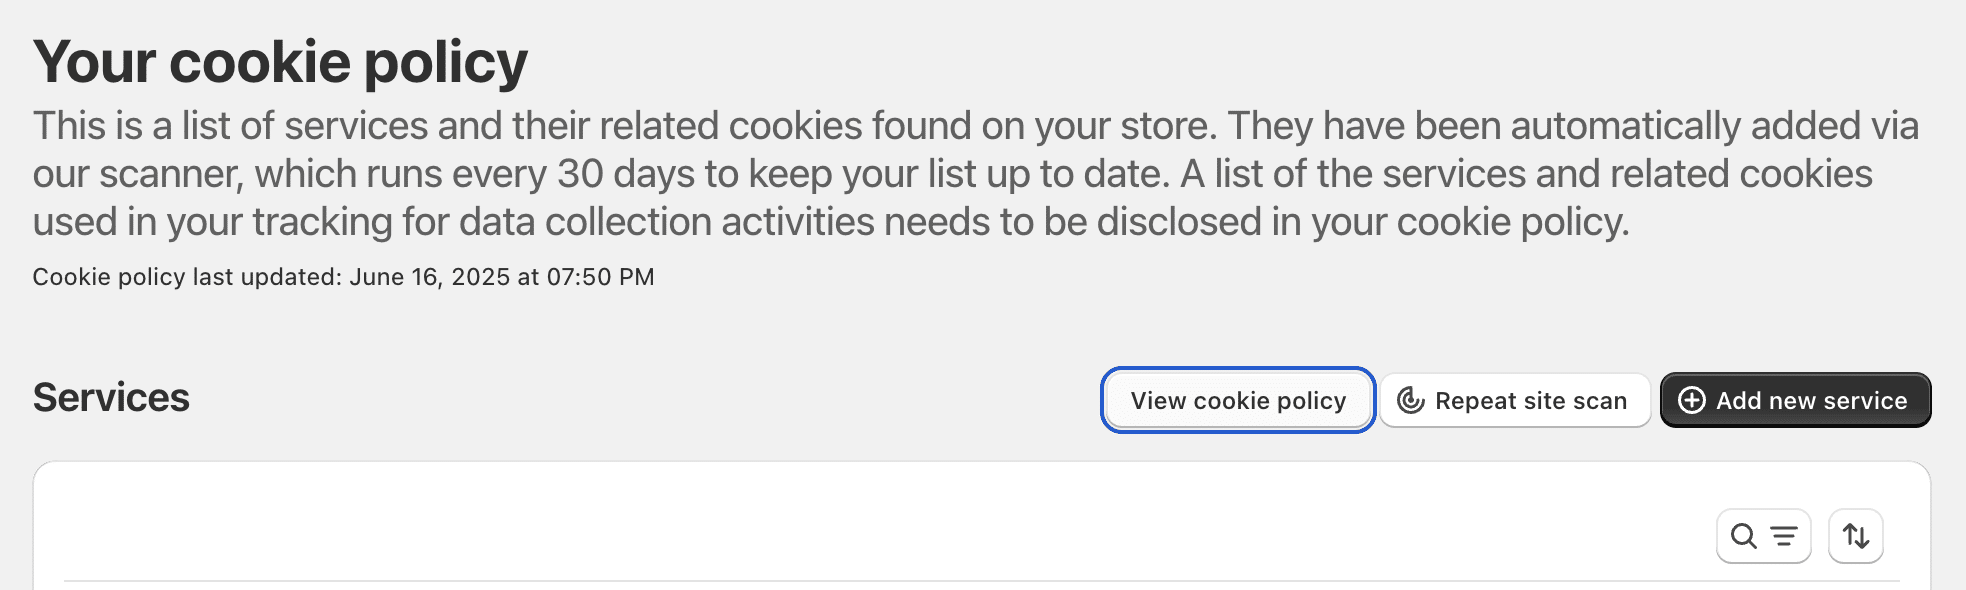
In the Complianz menu, go to Cookie policy; and click: ‘View cookie policy’.
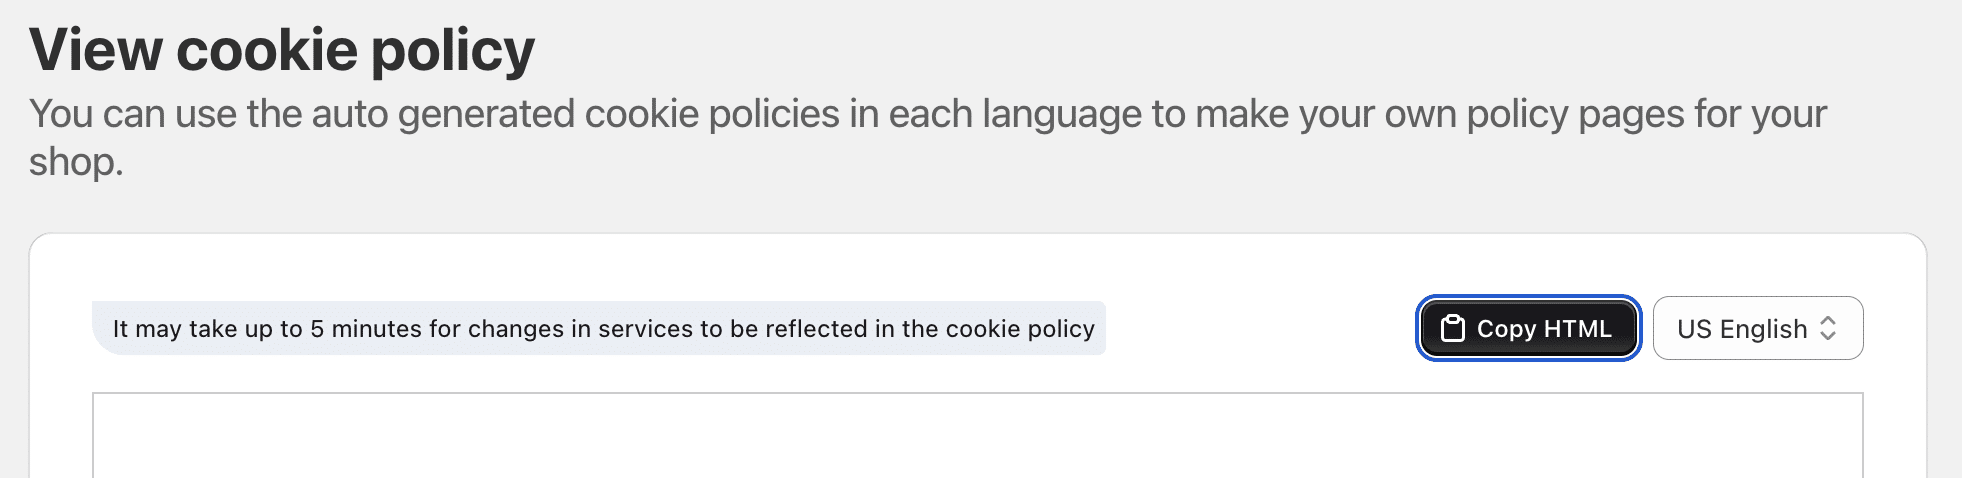
Under ‘View cookie policy’ choose Copy HTML. Continue to the next step.
2. Creating a Shopify Page
1. Log in to your Shopify admin
Visit https://www.shopify.com/login and sign in to your Shopify store.
2. Go to Pages
- From the admin dashboard, click “Online Store” on the left.
- Then click “Pages”.
3. Create a new page
- Click the “Add page” button at the top right.
4. Enter your Cookie Policy content
- Title: Name your page something like “Cookie Policy”.
- Content area:
- In the content editor toolbar, click the “Show HTML” icon (
<>) – this switches the editor to HTML mode. - Paste your HTML-formatted Cookie Policy content or embed code here.Examples:
- Copy-pasted HTML from a compliance service (like Complianz, Cookiebot, Iubenda)
- Custom-written HTML with styles and layout
- In the content editor toolbar, click the “Show HTML” icon (
💡 If you don’t see the <> button, expand the toolbar using the icon with three dots or keyboard shortcut Ctrl+Shift+Alt+M.
5. Edit Search Engine Listing (Optional)
- Scroll down to “Edit website SEO”.
- Customize the:
- Page title
- Meta description
- URL handle (e.g.,
/cookie-policy)
6. Set visibility
Choose whether the page is:
- Visible (to publish immediately)
7. Save the page
Click the “Save” button at the top right.
8. Add the page to your site navigation
Make sure visitors can find your policy:
- Go to Online Store > Navigation.
- Select the Footer menu (or any menu where you want to link the policy).
- Click “Add menu item”:
- Name: Cookie Policy
- Link: Select Pages > Cookie Policy
- Click “Add”, then “Save menu”.
3. Add URL to the Cookie Banner
Go to Complianz – Banner editor – text and add the URL.