If you run a website that collects user data, you’re probably aware of the importance of giving visitors control over their cookie settings. To comply with GDPR, and other privacy regulations, every website must provide an easy way for users to adjust their cookie preferences at any time. Typically, this is achieved through a widget that appears on every page of your website.
However, you may want to make this feature a bit more customizable by customizing the button to other website elements, such as the footer. In this article, we’ll show you how to convert the widget feature into a link, so users can manually reopen their cookie preferences when needed.
Replace the widget with a link
By default, the widget provides quick access to cookie settings from any page. However, if you’d like to replace this widget with a custom link, you can do so in a few simple steps:
To replace the widget with a custom link for cookie preferences:
- Placement: You’ll need to place the code snippet inside your website’s theme. The most common place to add this is in the footer or depending on where you want the link to appear.
- Steps:
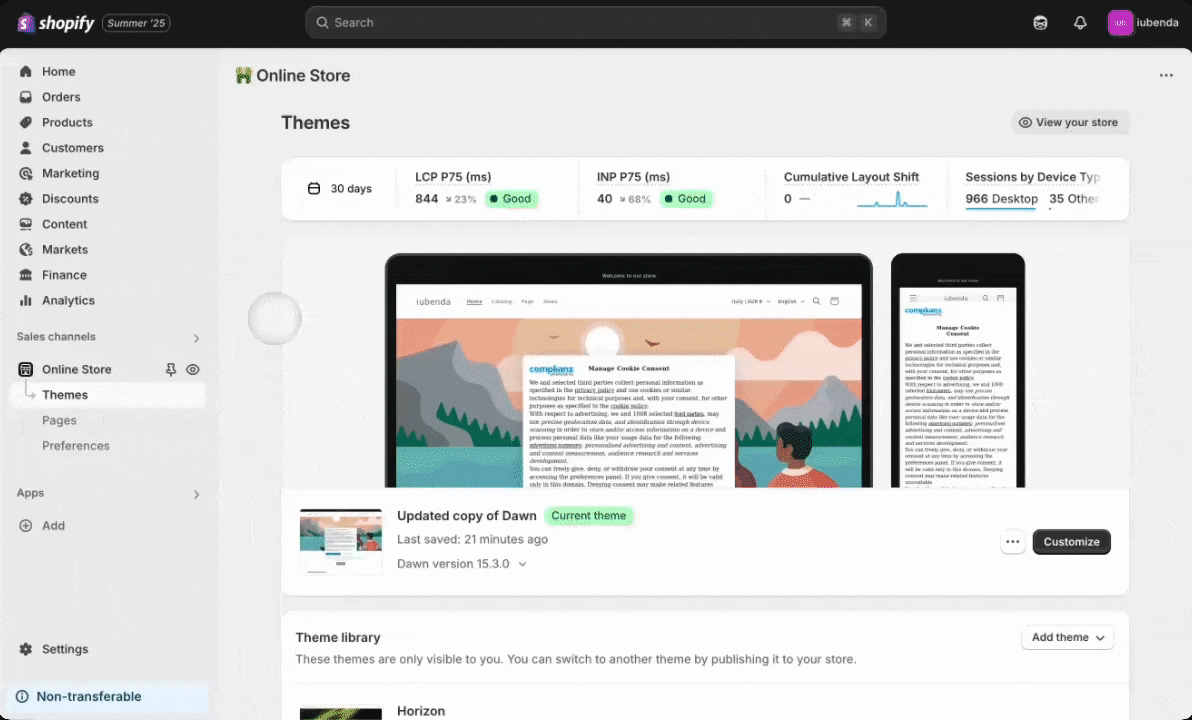
- Go to your Shopify Admin and navigate to Online Store > Themes.
- Click on the three dots menu […] > Edit Code.
- Look for the appropriate template file where you want to add the link (e.g.,
footer.liquid
ortheme.liquid
for a site-wide placement). - In that file, add this code where you want the link to appear, such as inside a
<footer>
, just before the closing</footer>
tag.
- Steps:
<a href="javascript:void(0)" class="Compliance-cs-preferences-link">Manage your consents</a>
Note: The letter “C” in “Compliance” must be capitalized for correct functionality.
This will create a clickable link on your site that opens the cookie consent preferences for users to adjust.
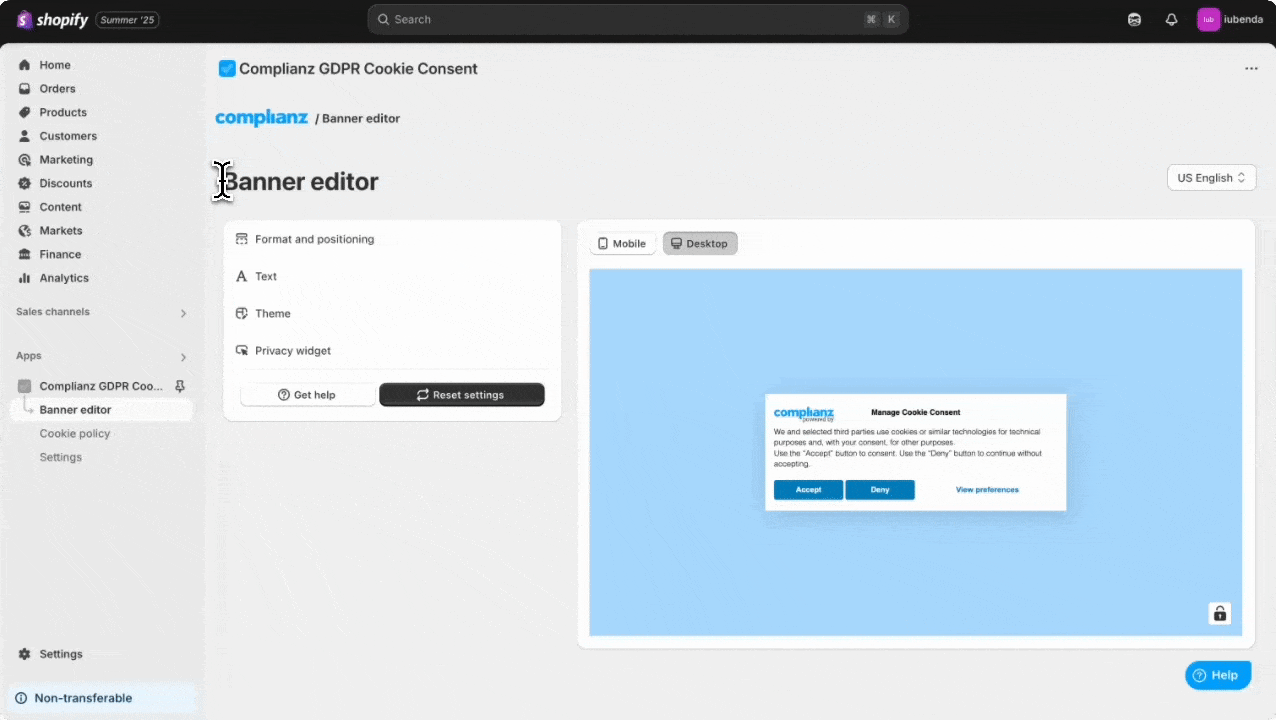
Finally, to hide the widget completely, simply uncheck the Enable privacy widget option from the Complianz Plugin inside Banner editor > Privacy widget > uncheck “Enable privacy widget”. Remember, disabling the privacy widget entirely may not comply with relevant legislation for your webshop, so always consider using a footer link as an alternative.
For Users with US Privacy Rights / CCPA Enable
If your website serves users in the US and you’ve enabled US Privacy Rights in Complianz, use this special class: Complicance-cs-uspr-link
to create a link for US-specific privacy options, such as the “Notice at Collection.”
To enable the special link for users in the US under the CCPA (California Consumer Privacy Act) and USPR laws:
- Placement: This code should be placed where you want the “Notice at Collection” link to appear. It’s typically placed in the footer for users to access easily.
- Steps:
- Follow the same steps as above to edit the code (go to Online Store > Themes, then click on the three dots menu […] > Edit Code.
- Place the following code where you want the USPR-specific link to show, for example in
footer.liquid
ortheme.liquid
:
- Steps:
<a href="javascript:void(0)" class="Compliance-cs-uspr-link">Notice at Collection</a>
Note: The letter “C” in “Compliance” must be capitalized for correct functionality.
This will display the “Notice at Collection” link for users in the US. It’s tied to the CCPA privacy rights and will open the privacy policy when clicked.
Optional Customization and Styling
You can add custom styles in your theme or use inline styles directly in the HTML if needed, to adjust colors, add padding, or create hover effects, ensuring the links match your brand and provide a consistent user experience. This will allow you to cutomize the appearance of the links to better fit your store’s design.
How to Customize the Position of the Privacy Widget
If you decide to keep the widget but want to change its position, simply follow these steps:
Open the Banner Editor:
Go to Complianz GDPR Cookie Consent App in your Shopify Admin, then click Banner editor > Privacy widget
Select Widget Position:
Use the dropdown menu to choose your preferred position for the widget (e.g., Top-left, Top-right, Bottom-left, Bottom-right, Anchored-center-left, Anchored-center-right, Anchored-top-left, Anchored-bottom-left, or Anchored-bottom-right).
Save Changes:
Once you’ve selected the position, click Save. The widget will automatically update on your site.
To hide the widget completely, simply uncheck the Enable privacy widget option.