When configuring Complianz with the wizard you will be asked the following question:
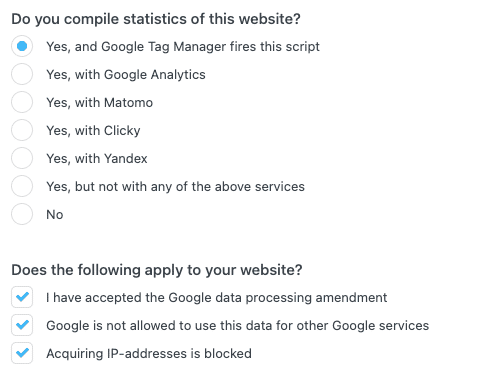
When you have configured Google Analytics for GDPR (How, can be read in this article) you can set Google Analytics before consent. You will need to anonymize IP Addresses from your users to complete the configuration. If you choose Complianz to handle analytics and you have answered the above questions with all 3 checkmarks, Complianz will anonymize IP Addresses for you and add the Google Tracking Code at the same time.
When you are using Tag Manager to add Google Analytics, you will need to add this option yourself. Here we explain the easiest way to anonymize IP addresses.
1. Where to anonymize IP addresses
When logging in to your Google Tag Manager account. Go to your Google Analytics Tag, under “Tags” at the left sidebar menu. Click the name of the tag and the configuration window will open. Here you can anonymize IP addresses.
2. How to anonymize IP addresses
In the configuration menu your first need to select the box which says: enable overwriting tag settings, this will give you the opportunity to add a variable. After, you can go to “more settings” and add a new field name and value, or anonymizeip and true as value. It should look like this:

3. Checking to see if it works
Complianz
If you have added Analytics via our Wizard, the easiest way is to check in your page source. When hovering over your website you can do a right-mouse click to select your page source. Here you can do a CTRL-F or CMD-F search for “anonymize”. It should look something like this:
ga('create', 'UA-yourcode', 'auto');
ga('send', 'pageview', {
'anonymizeIp': true
Tag Manager
For Google Tag Manager it’s a bit trickier and this will be an example for Chrome users.
Under the same right-mouse click you will find “Inspect”, here you will find “Sources” in the top bar. Select sources.
On the left-hand side, you will find all services which are available on the first page load. You will find Google Tag Manager with a dropdown. Select the file in the dropdown and use the shortcut CTRL-F or CMD-F. Search for “anonymize” in the file.
When it is activated you will find your tag, it should look something like:
"tags":[{
"function":"__ua",
"metadata":["map"],
"once_per_event":true,
"vtp_overrideGaSettings":true,
"vtp_fieldsToSet":["list",["map","fieldName","anonymizeIp","value","true"]],
....
....
That’s all there is to it! For any questions, please contact support or leave a comment below.